Tutorials > RevenueCat Setup
Recommendation
We recommend that you refer to this tutorial after you have finished developing your app and have at least drafted your app for the App Store and/or Play Store.In-app purchases are the best way to monetize our mobile applications. App stores like the App Store and Play Store handle payments and manage recurring subscriptions for us.
Instead of integrating with each store separately, there are SaaS solutions specializing in in-app purchases. Our boilerplate includes an integration with RevenueCat, which offers excellent pricing, integrations, and documentation.
In this document, we will explain how to set up RevenueCat. But before start, you need to have Firebase, App Store Connect and/or Play Store Console set up.
RevenueCat Setup
1. First, you need to create an account for free on RevenueCat, if you didn't create one.
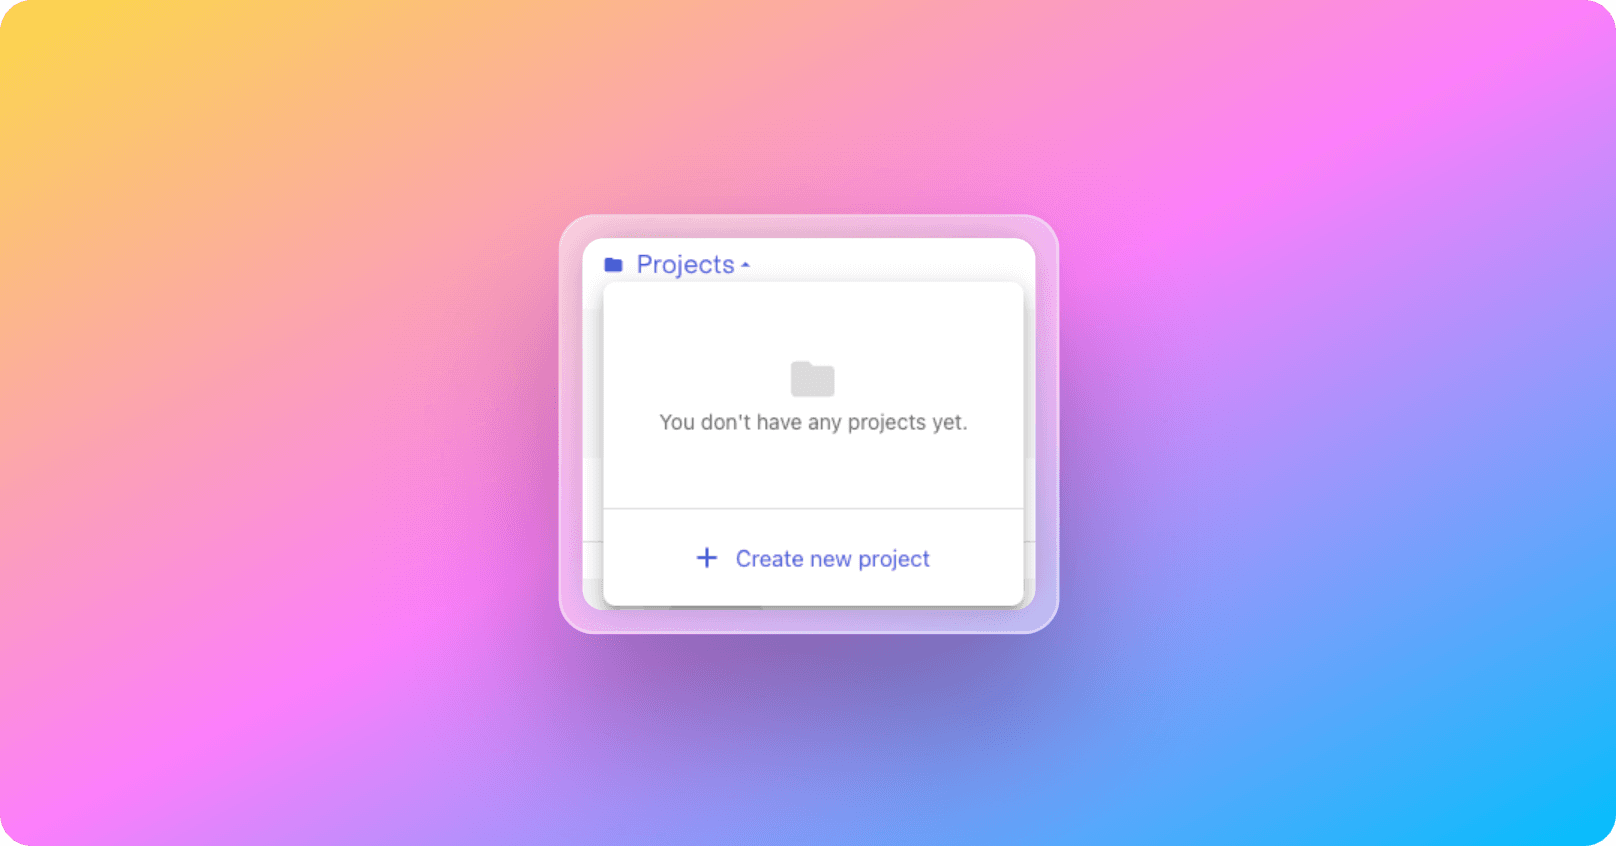
2. After signed in, to create a project click on + Create new project button in the Projects dropdown on the RevenueCat dashboard.

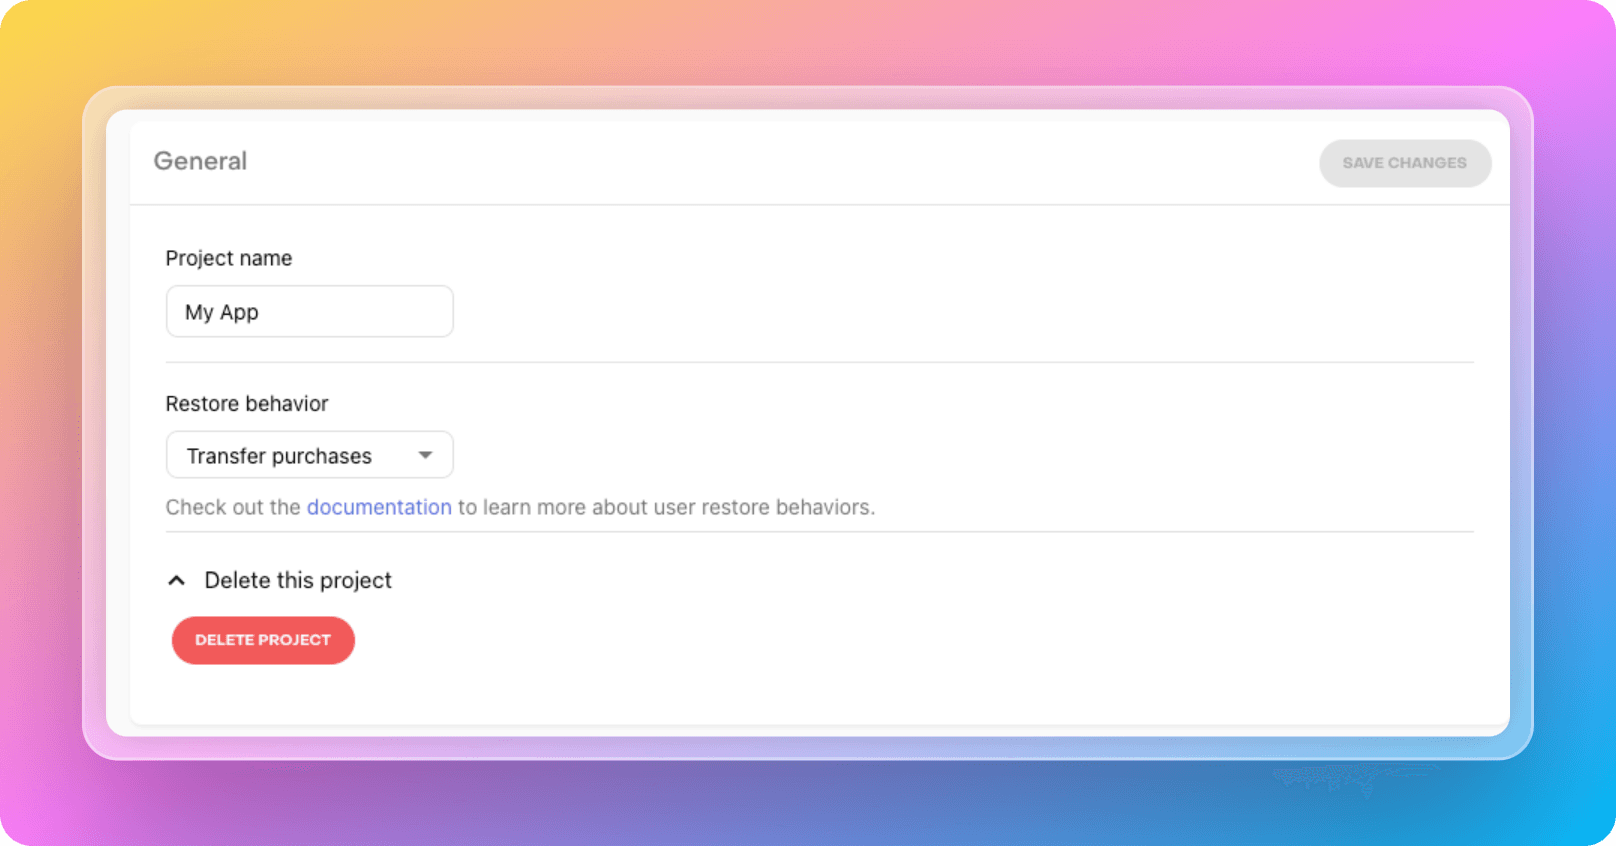
3. Set your project name and click save changes.

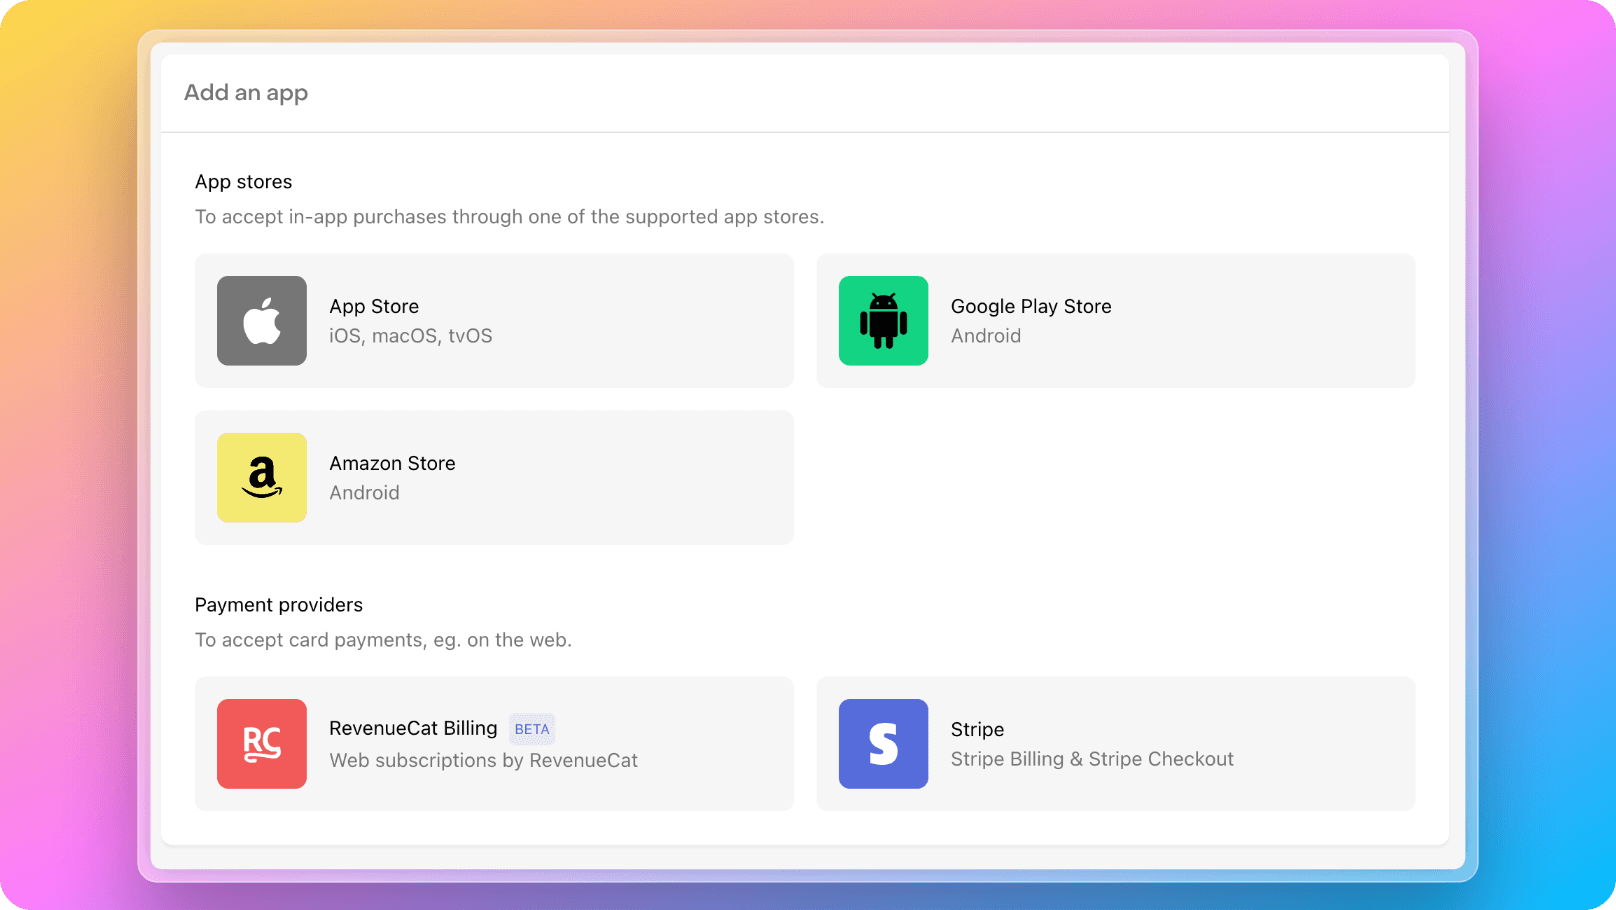
4. Once you create a project you'll be prompted to add an App. Select the iOS and Android app and follow the configuration steps for those platforms.

Firebase Extension Setup
RevenueCat also offers a highly successful Firebase Extension for free to simplify Firebase integration.
With this extension, your customer information and events from app stores are instantly recorded to your Firestore database.
Subsequently, to check whether a user has access to services you offer exclusively to paid users, you can simply verify it from Firestore on your backend. Another scenario is triggering serverless functions when a document is added to the collection where payment events are written. These functions can be used to send notifications/emails to the user, grant additional rights, add credits, etc.
To enable RevenueCat's Firebase Extensions on your Firebase project, simply follow the steps:
1. Visit Enable In-App Purchases with RevenueCat page on Firebase Extensions website.
2. Click on Install in Firebase console
3. It will redirect you to Firebase and ask to Choose a project to continue. Click on the project of your mobile app.
4. Your project must be on the Blaze plan to use this extension, follow the steps to upgrade your project to Blaze plan. But don't worry, it offers a generous no-cost tier. Probably you won't need to pay aynthing until your app becomes huge success!
5. Enable APIs and resources, give access when it's asked.
6. On Configure extension step, select a location which closes to your target users.
7. Enter revenuecat_events on RevenueCat Webhook Events Firestore collection (Optional)
8. Enter revenuecat_customers on Location of the customers collection (Optional)
9. Set ENABLED the Should custom claims be set in Firebase Auth with the user's active entitlements?
10. Visit your RevenueCat dashboard's Projects → [your project] →Integrations → Firebase
11. Copy the Shared Secret to Firebase form's RevenueCat Firebase Integration Shared Secret field
12. Check the Enable Events and select all events in Type of events selection.
13. Click to Install extension and after 3-5 minutes, your extensions will be ready!
14. After your extension is ready, you need to go to Extensions →Enable In-App Purchases with RevenueCat → How this extension works → Configure the Firebase Integration in the RevenueCat dashboardand copy the URL from there.
15. Visit your RevenueCat dashboard's Projects → [your project] →Integrations → Firebase and paste the copied URL to Webhook URL