Tutorials > Build in 5 mins
After setting up your Firebase project and adding your environment variables to the repository as explained in Get Starter Docs, now you are ready to go!
Run Firebase Functions Locally
1. Install dependencies inside react-native-starter-backend/functions folder by running the commands below:
1cd ./react-native-starter-backend/functions && npm installAnd also install firebase-tools globally on your machine with the command below:(This is needed for running Firebase functions locally)
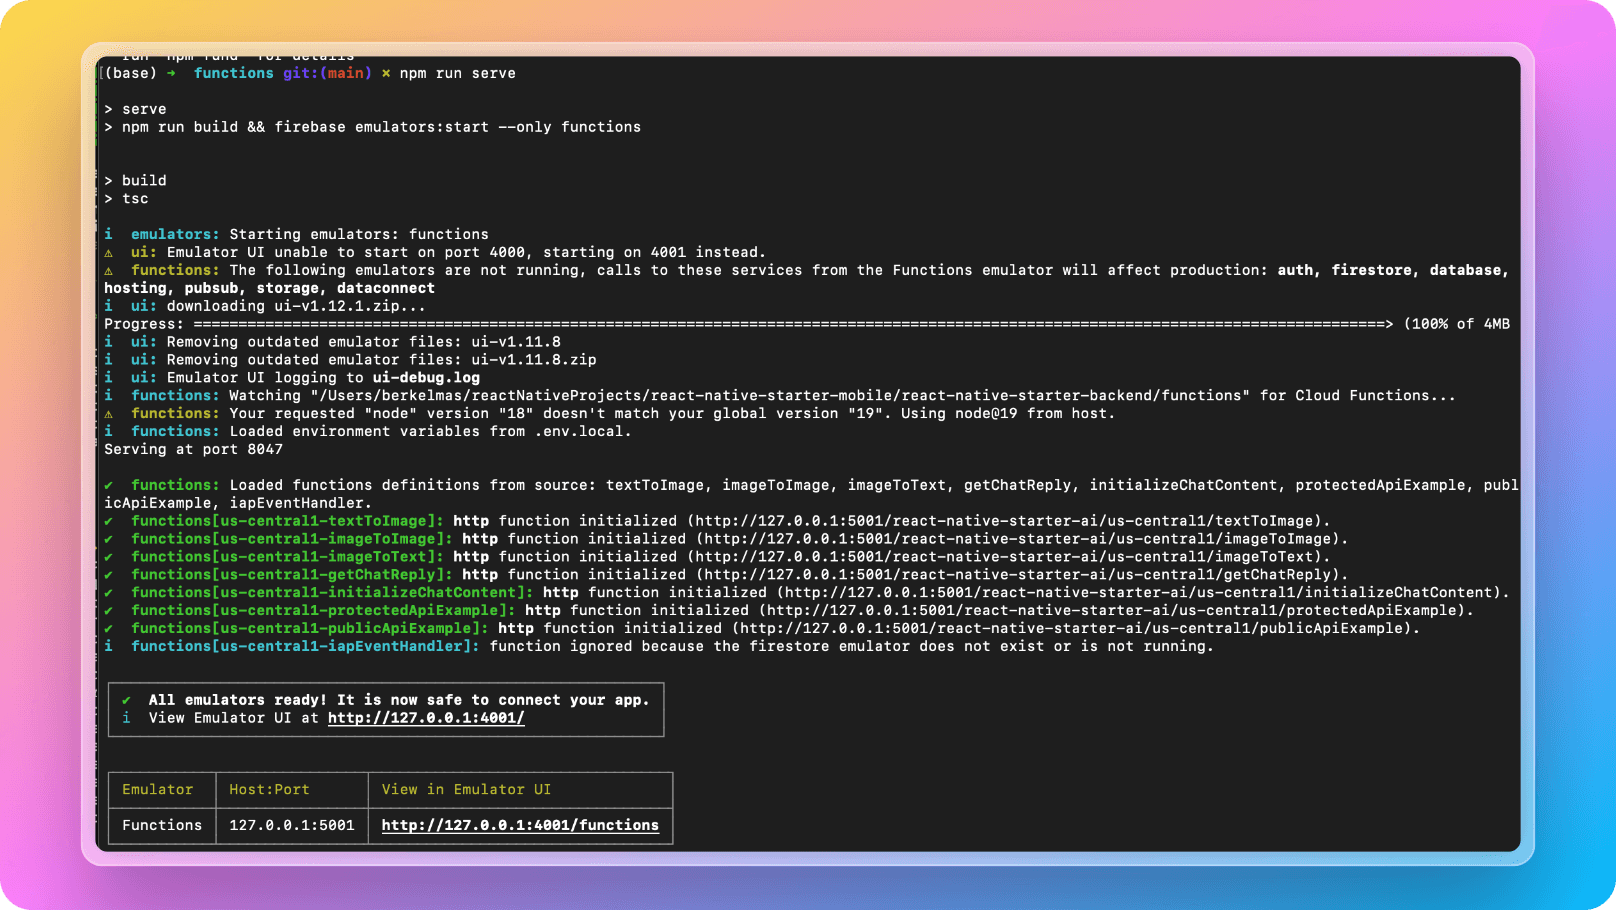
1npm install -g firebase-tools2. After installing the dependencies, now you are ready to run your backend locally with the serve command below:(Make sure that you are using node with >= 18 version)
1npm run serveAfter you run the serve command above, you should be able to see the terminal output below:
Run iOS Locally
Being able to run iOS locally on iPhone simulator, you need to have MacOS machine. If you have one, you are ready to go! If not, you can continue with Android section for sure!
1. Open iPhone simulator locally by running the command below or opening up xCode and launching manually as shown in the screenshot below:
1open -a Simulator.app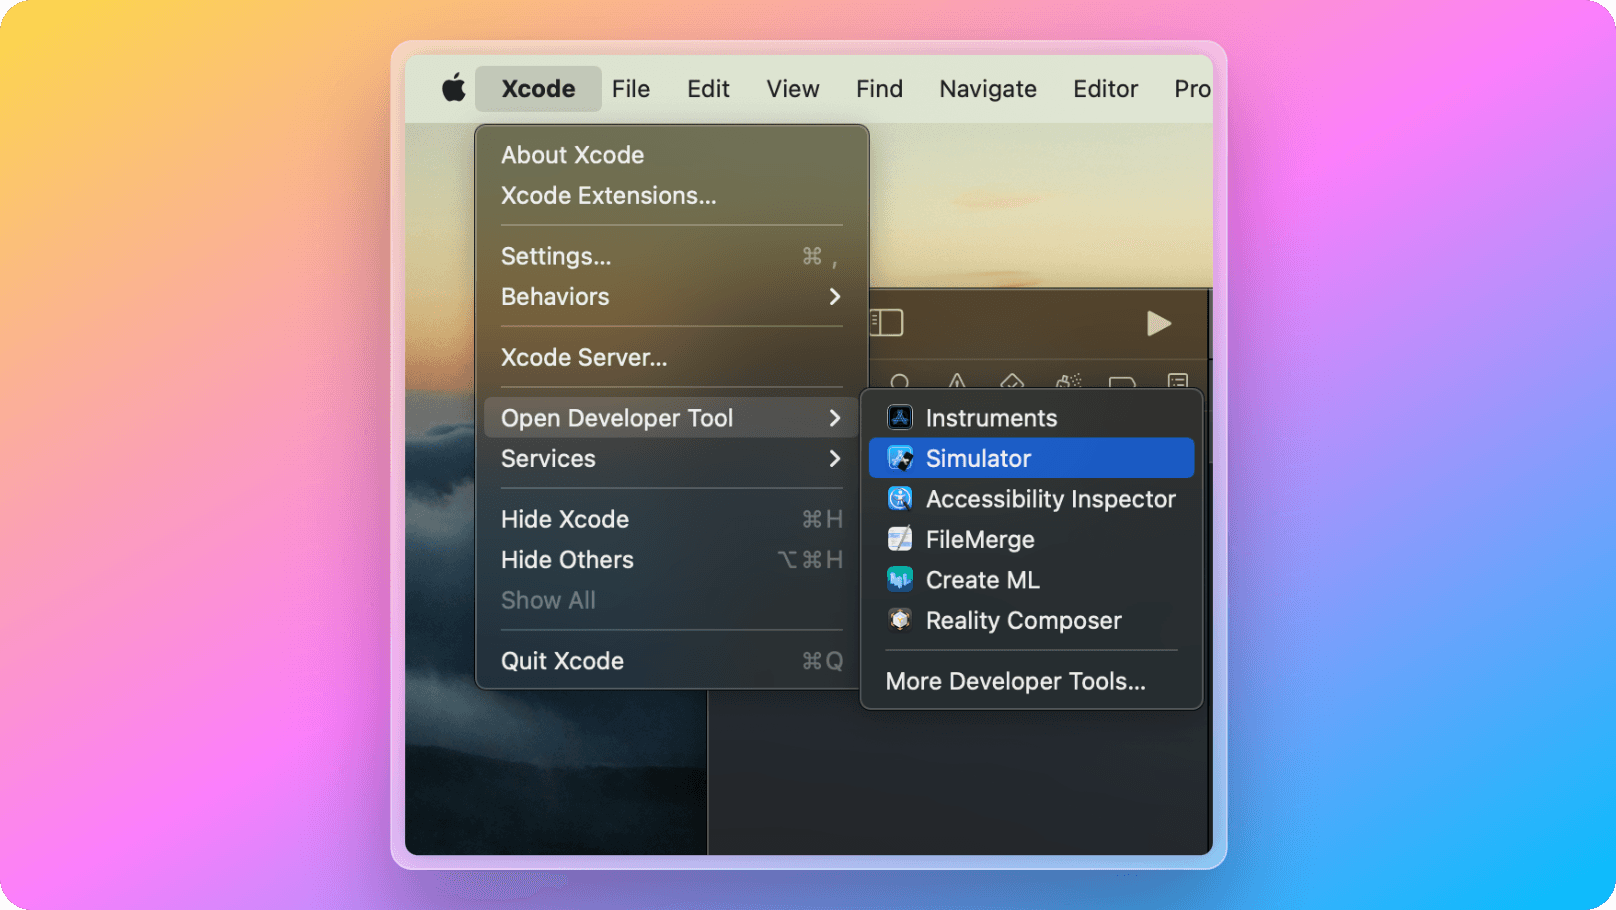
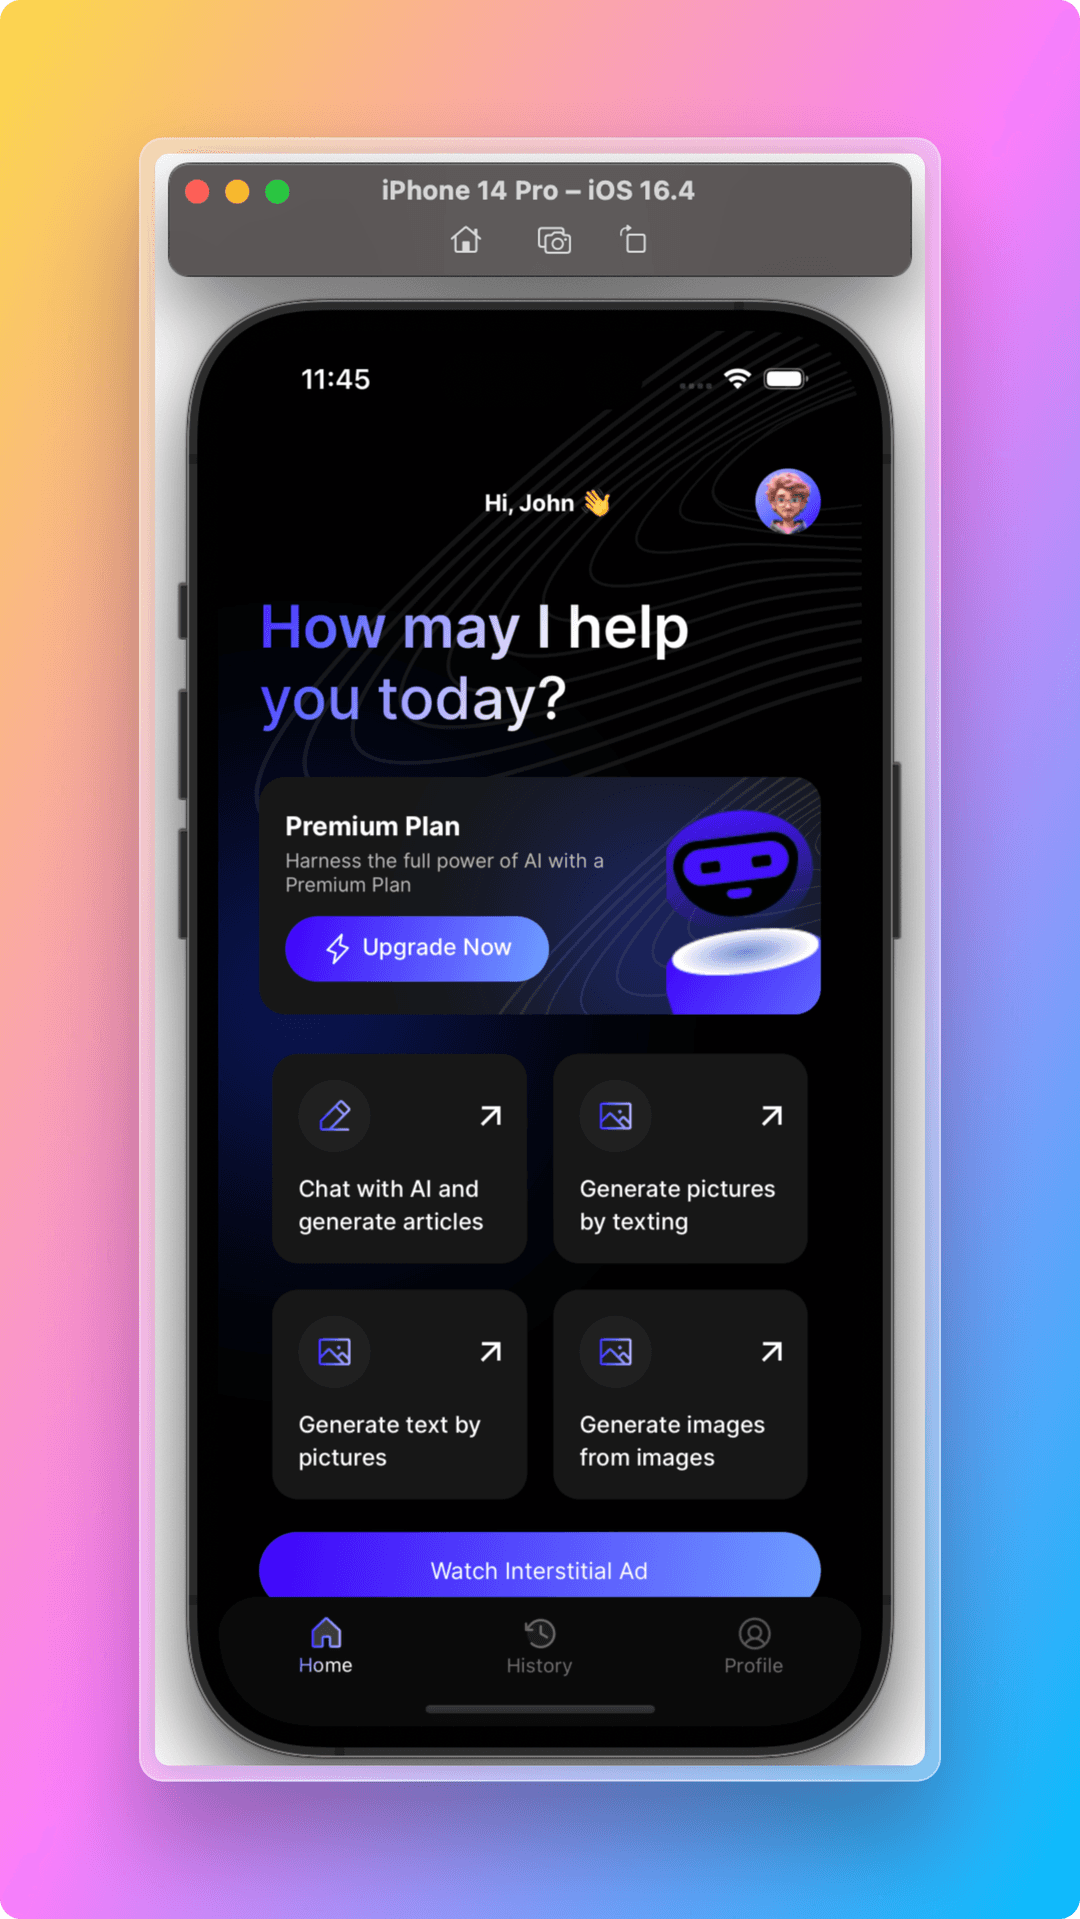
2. After opening up your iOS simulator like below, you need to execute run command for iOS on your terminal and your React Native Starter AI will be launched on the simulator opened. In the first time that you run npm run ios command, a new ios directory will get created on your repository.
1npm run iosAfter you run npm run ios command, React Native Starter AI demo app will be opened with all of its UI and functionality in your local like below:
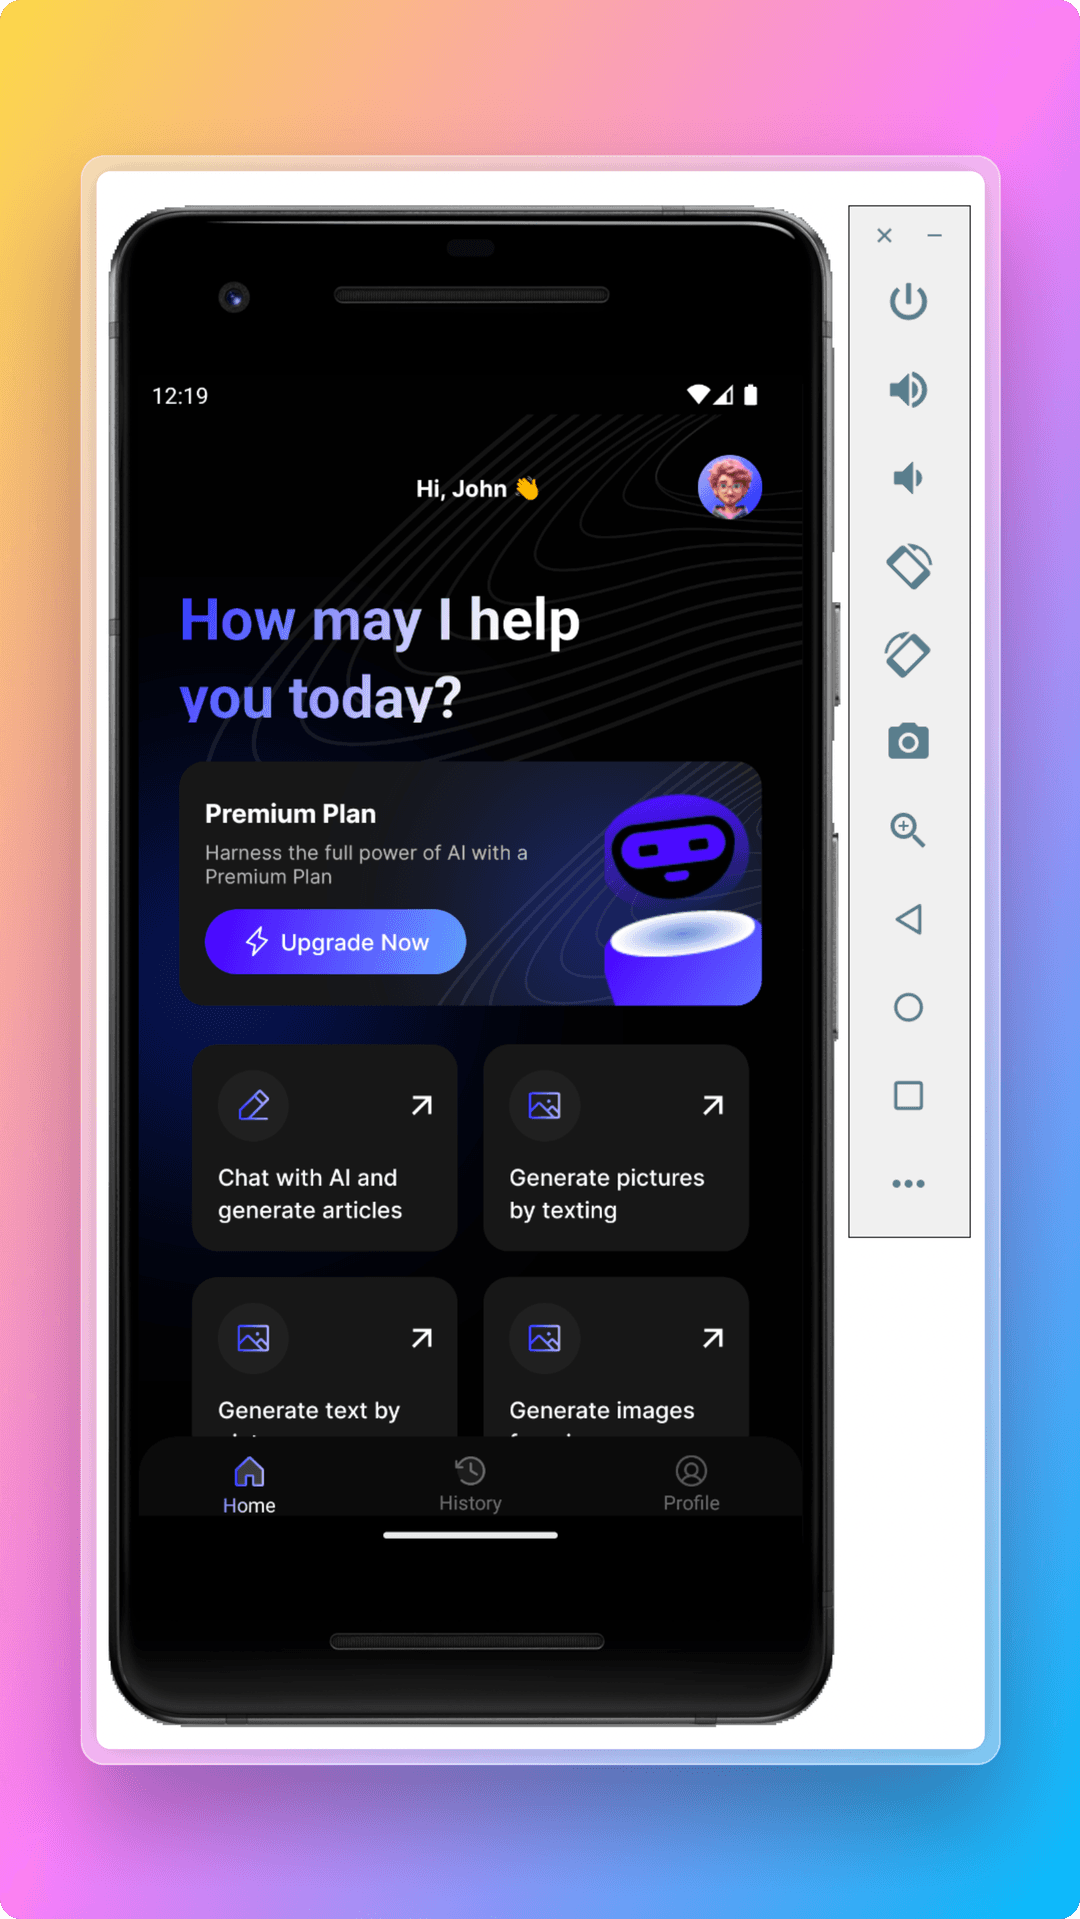
Run Android Locally
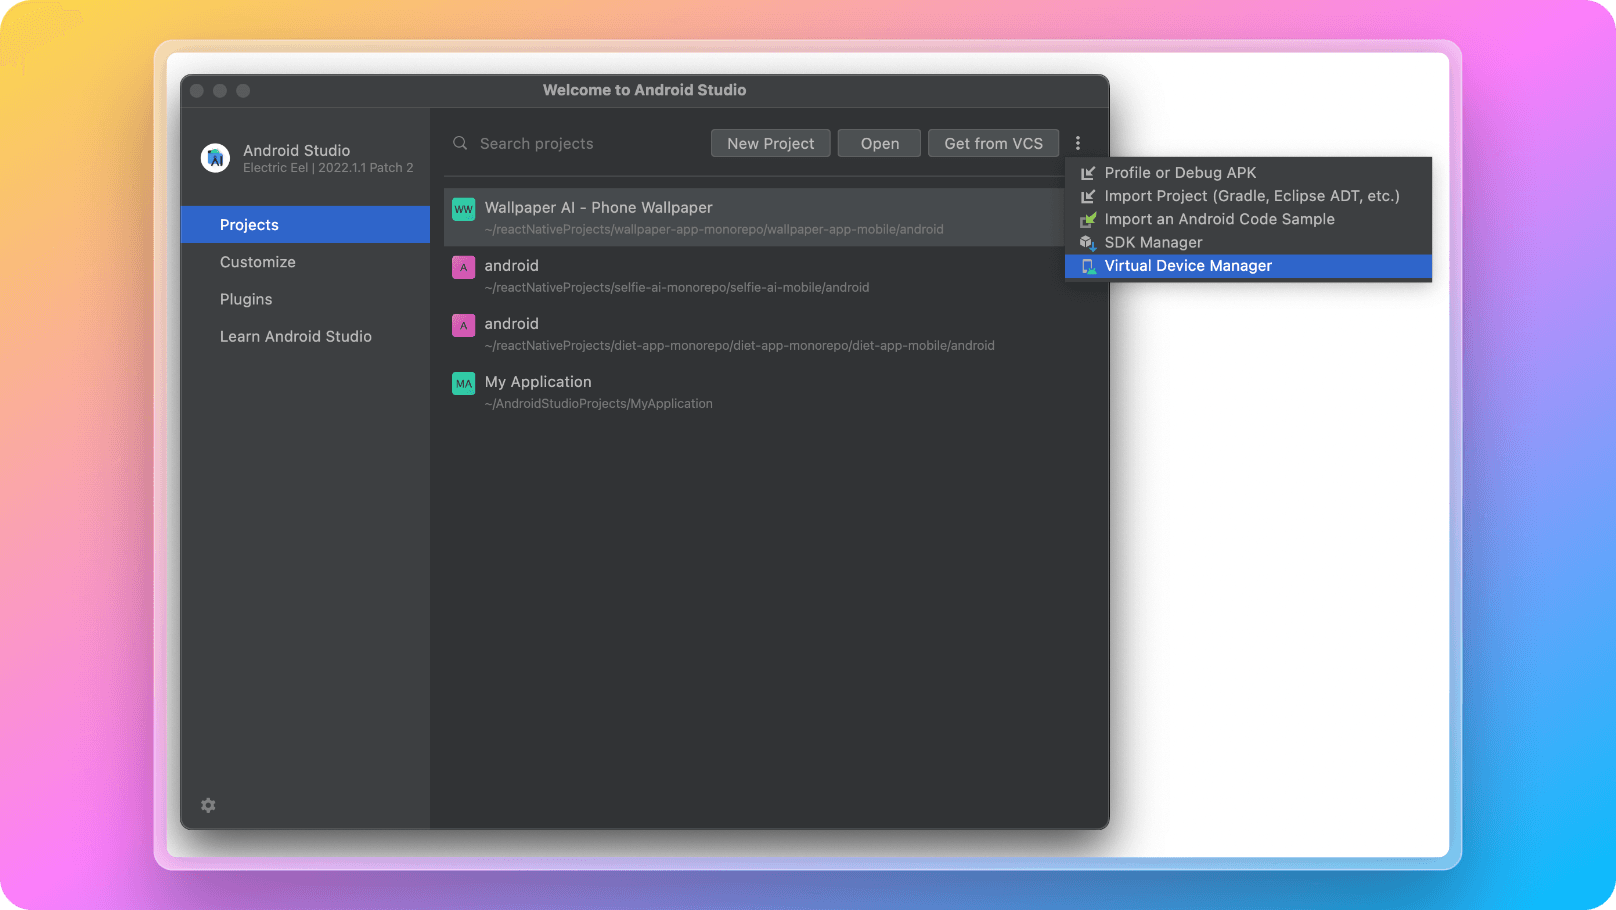
Being able to run on Android locally, first you need to download Android Studio and Android Emulators. You can check the official installation guide of them from these links.
1. After downloading Android Studio and emulators, you can launch an emulator on your local with the following command or open up a new emulator from Android Studio manually as shown in the screenshot below:
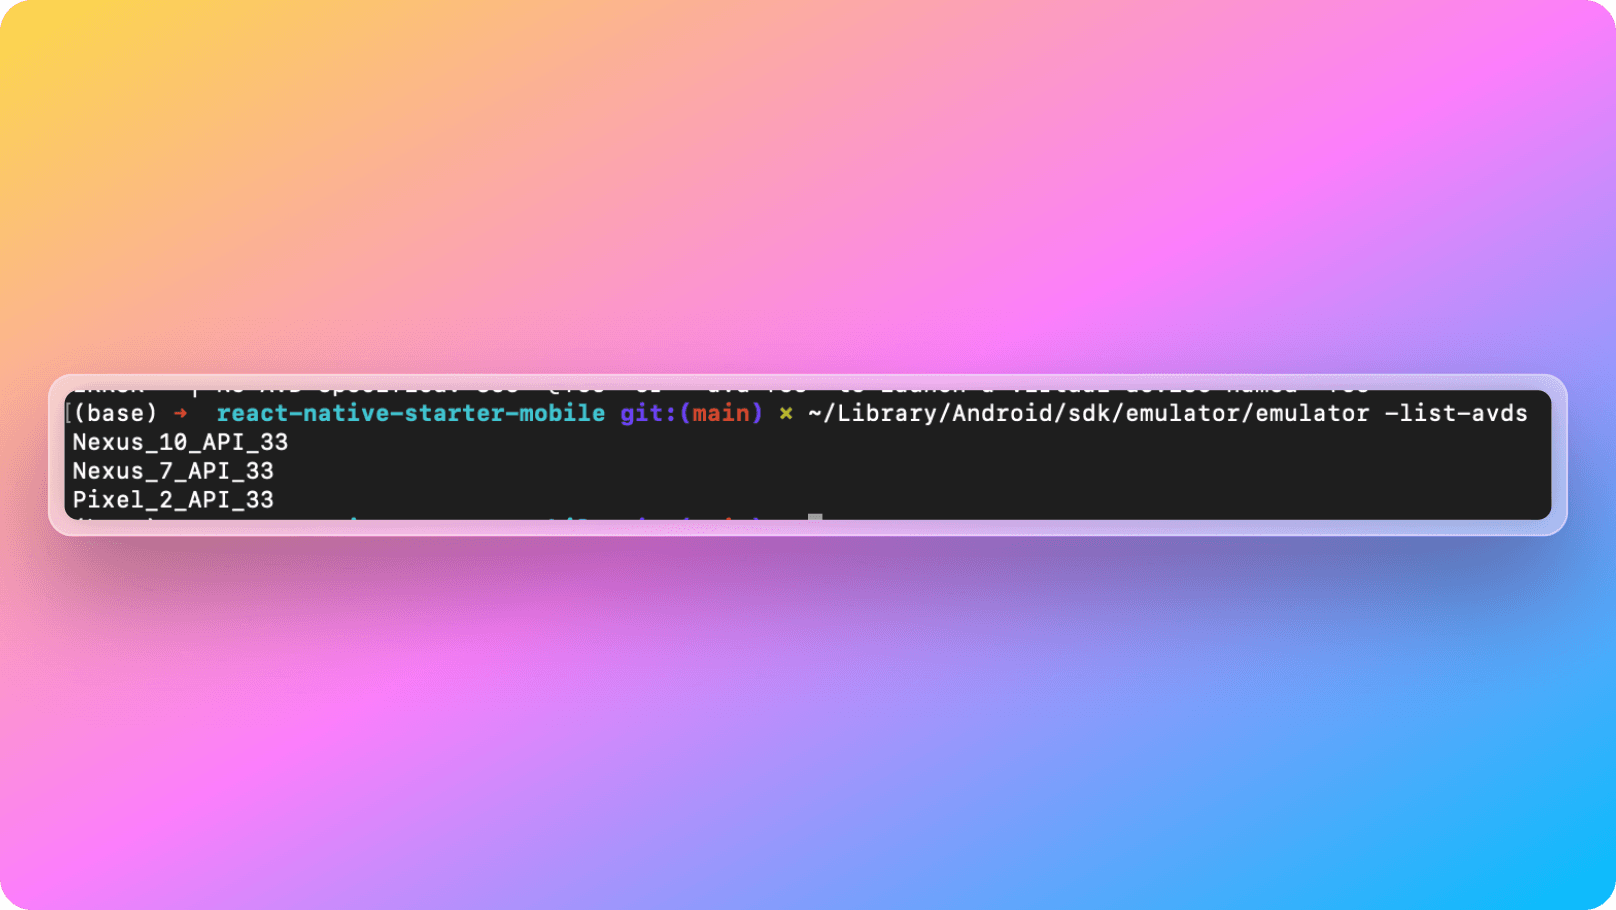
List Android Emulators on Windows:
1%userProfile%\AppData\Local\Android\sdk\emulator/emulator -list-avdsList Android Emulators on MacOS:
1~/Library/Android/sdk/emulator/emulator -list-avdsAfter you run the list command above, you will be able to see an output like below showing your available Android emulators installed on your computer.
After choosing which Android emulator you like to launch, you can launch it with the commands below depending on your environment being MacOS or Windows:
Launch Android Emulator on Windows:
1%userProfile%\AppData\Local\Android\sdk\emulator/emulator -avd {AVD_NAME}Launch Android Emulator on MacOS:
1~/Library/Android/sdk/emulator/emulator -avd {AVD_NAME}Also don't forget to setup ANDROID_HOME environment variable as below:
Set ANDROID_HOME on Windows:
1set ANDROID_HOME=%userProfile%\AppData\Local\Android\sdk\Set ANDROID_HOME on MacOS:
1export ANDROID_HOME=~/Library/Android/sdk/After running the command above depending on your environment, your selected Android emulator will get launched. Now you are ready to run React Native Starter AI app on your Android emulator with the command below:
1npm run androidIn the first time that you run npm run android command, a new android directory will get created on your repository.
After you run npm run android command, React Native Starter AI demo app will be opened with all of its UI and functionality in your local Android emulator like below: