Apple App Store Publishing
Congratulations on completing your mobile app project and now it is time to publish it on Stores to reach out your users! 🎉 ✨ Publishing your React Native App to Apple App Store might seem a bit of a hassle for many developers at first but actually it is very straightforward and easy with React Native Starter AI!
React Native Starter AI uses Expo under the hood so you can use all the publishing configuration of Expo without any difficulty. All the steps will be explained clearly below. Stay tight!
Building Your Application
1. We are using Expo Application Services(EAS) for building our application on both iOS and Android platforms. Firstly, we need to set it up on our local by the following command:
1npm install -g eas-cli2. After installing eas, you need to sign up on Expo. (We are using Expo servers to build our apps on the cloud!) Here, you can sign up on Expo
3. After signing in/up on Expo, you need to run the command below to login on your local terminal to Expo so that we can push our mobile app to build on Expo Cloud. Login to Expo is pretty easy. All you need to do is to run the command below:
1eas login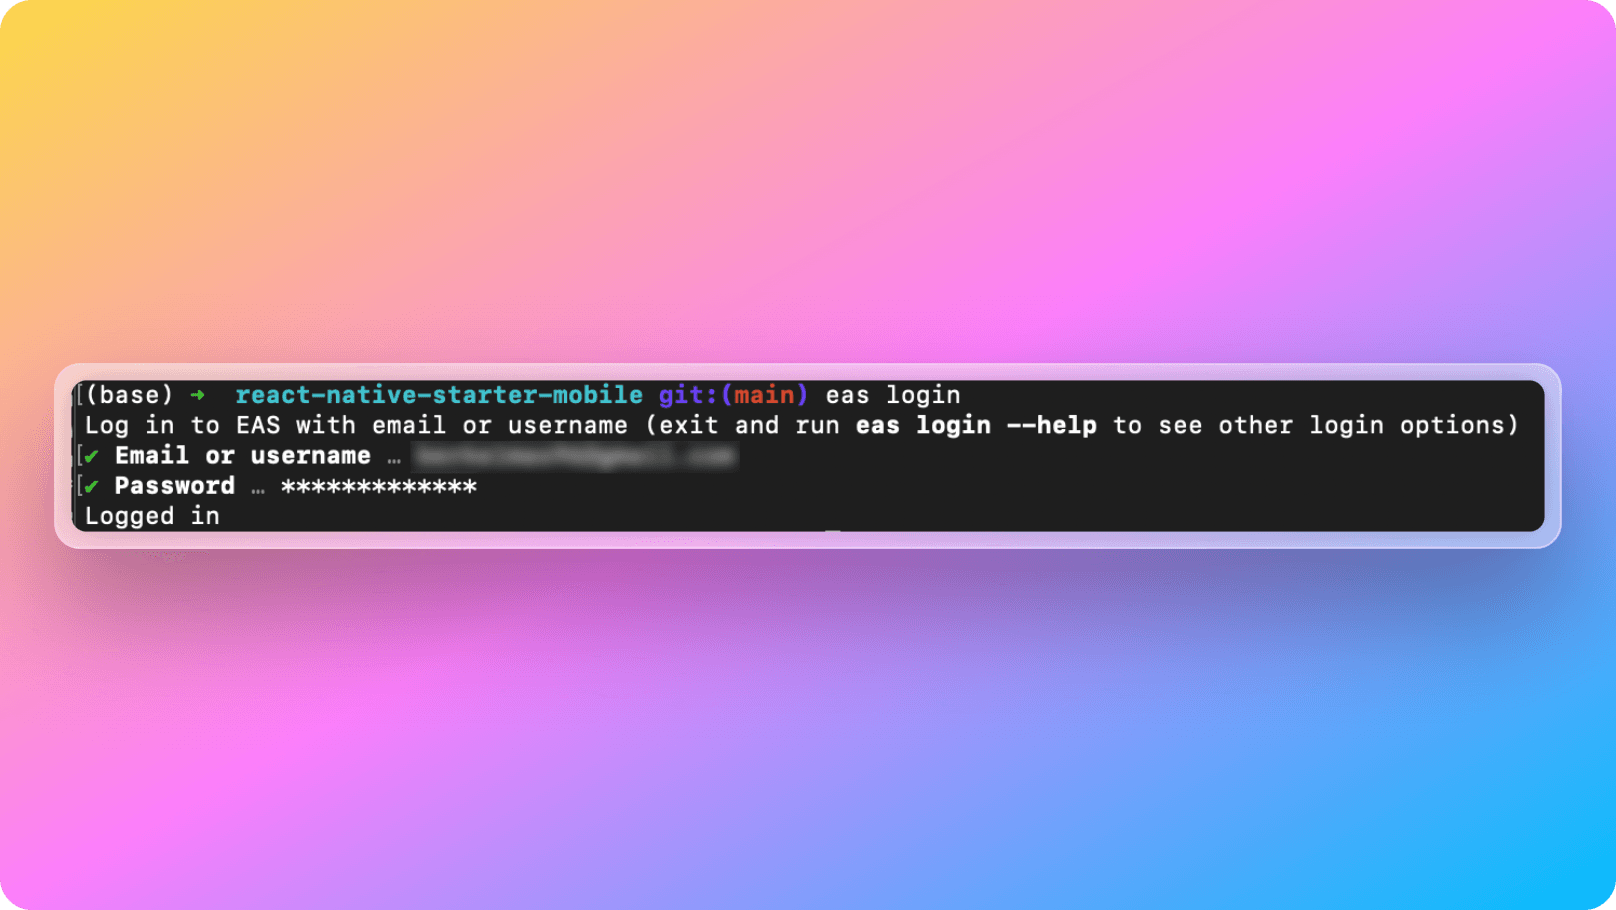
4. Now it is time to configure your project to EAS platform with the following command. This command will generate an eas.json file on your project's root(react-native-starter-mobile/eas.json)
1eas build:configure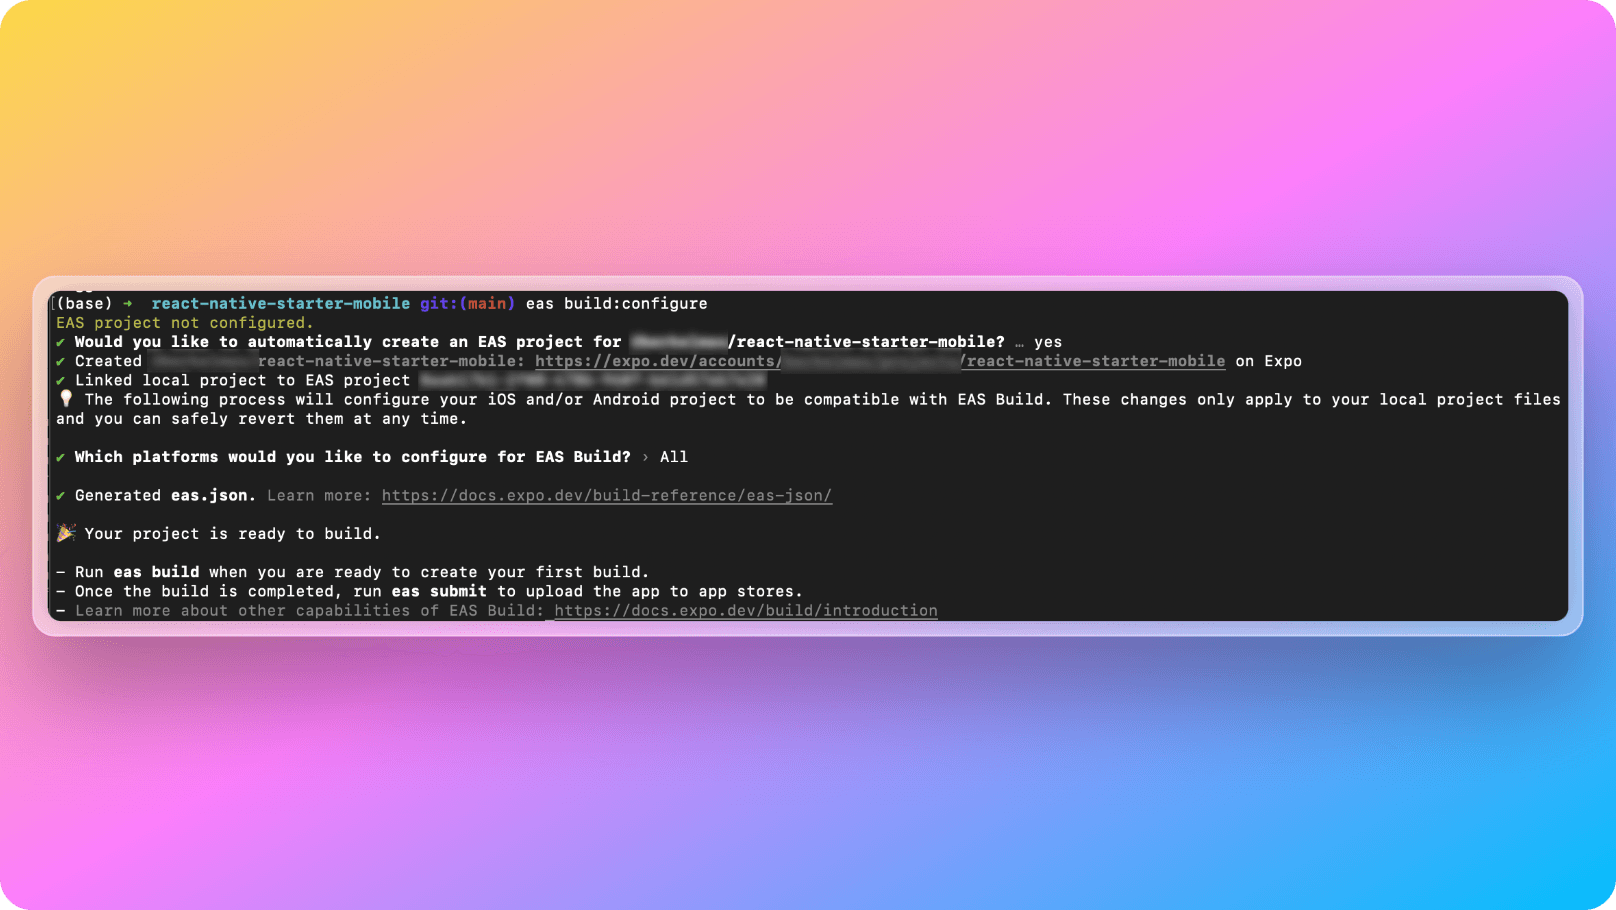
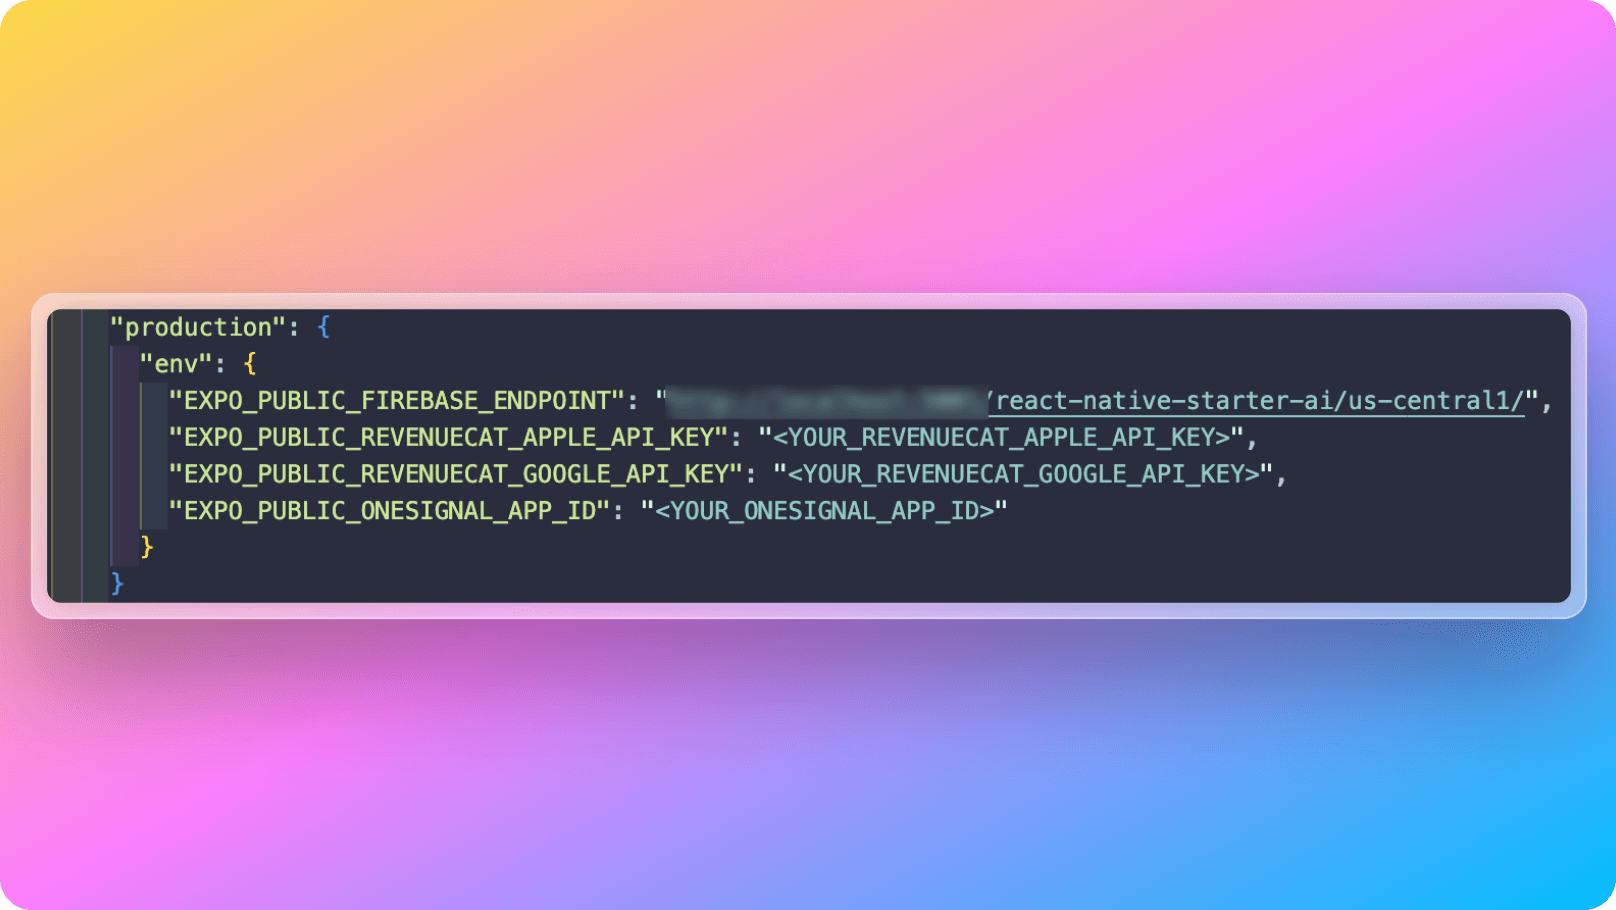
5. After running the configuration command, you will see a react-native-starter-mobile/eas.json file generated in your codebase. We will be adding environment variables that we want to use in our mobile application in this file. In the boilerplate code, the existing environment variables areEXPO_PUBLIC_FIREBASE_ENDPOINT, EXPO_PUBLIC_REVENUECAT_APPLE_API_KEY, EXPO_PUBLIC_REVENUECAT_GOOGLE_API_KEY and EXPO_PUBLIC_ONESIGNAL_APP_ID but you can add new ones if needed.
1  "...build": {
2  "development": {
3    "developmentClient": true,
4    "distribution": "internal"
5  },
6  "preview": {
7    "distribution": "internal"
8  },
9  "production": {
10    "env": {
11      "EXPO_PUBLIC_FIREBASE_ENDPOINT": "http://localhost:5001/react-native-starter-ai/us-central1/",
12      "EXPO_PUBLIC_REVENUECAT_APPLE_API_KEY": "<YOUR_REVENUECAT_APPLE_API_KEY",
13      "EXPO_PUBLIC_REVENUECAT_GOOGLE_API_KEY": "<YOUR_REVENUECAT_GOOGLE_API_KEY>",
14      "EXPO_PUBLIC_ONESIGNAL_APP_ID": "<YOUR_ONESIGNAL_APP_ID>"
15    }
16  }
17},
18...
6. After adding the environment variables as well, we are now ready to trigger a build with eas build command for iOS platform:
1eas build --platform iosWhen you execute the eas command above, you will be prompted to answer your Apple Developer account credentials along with if you want Expo to create provisioning profile and Apple Distribution Certificate for you. If you let Expo do all that for you, it is all automatic but you can also manually generate them and provide if you wish.
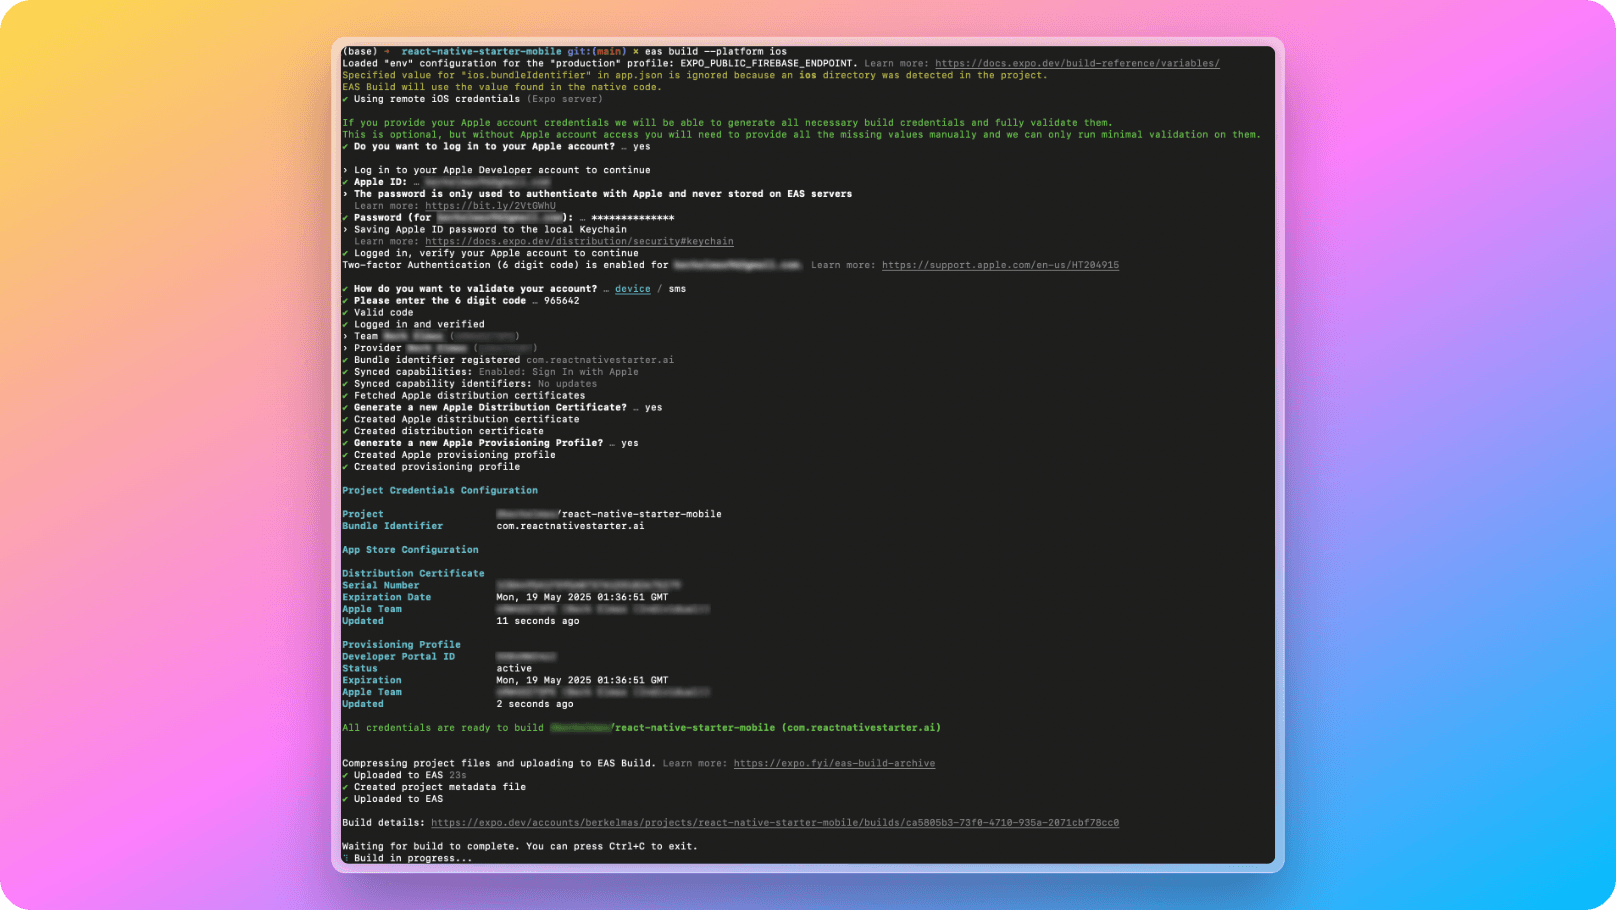
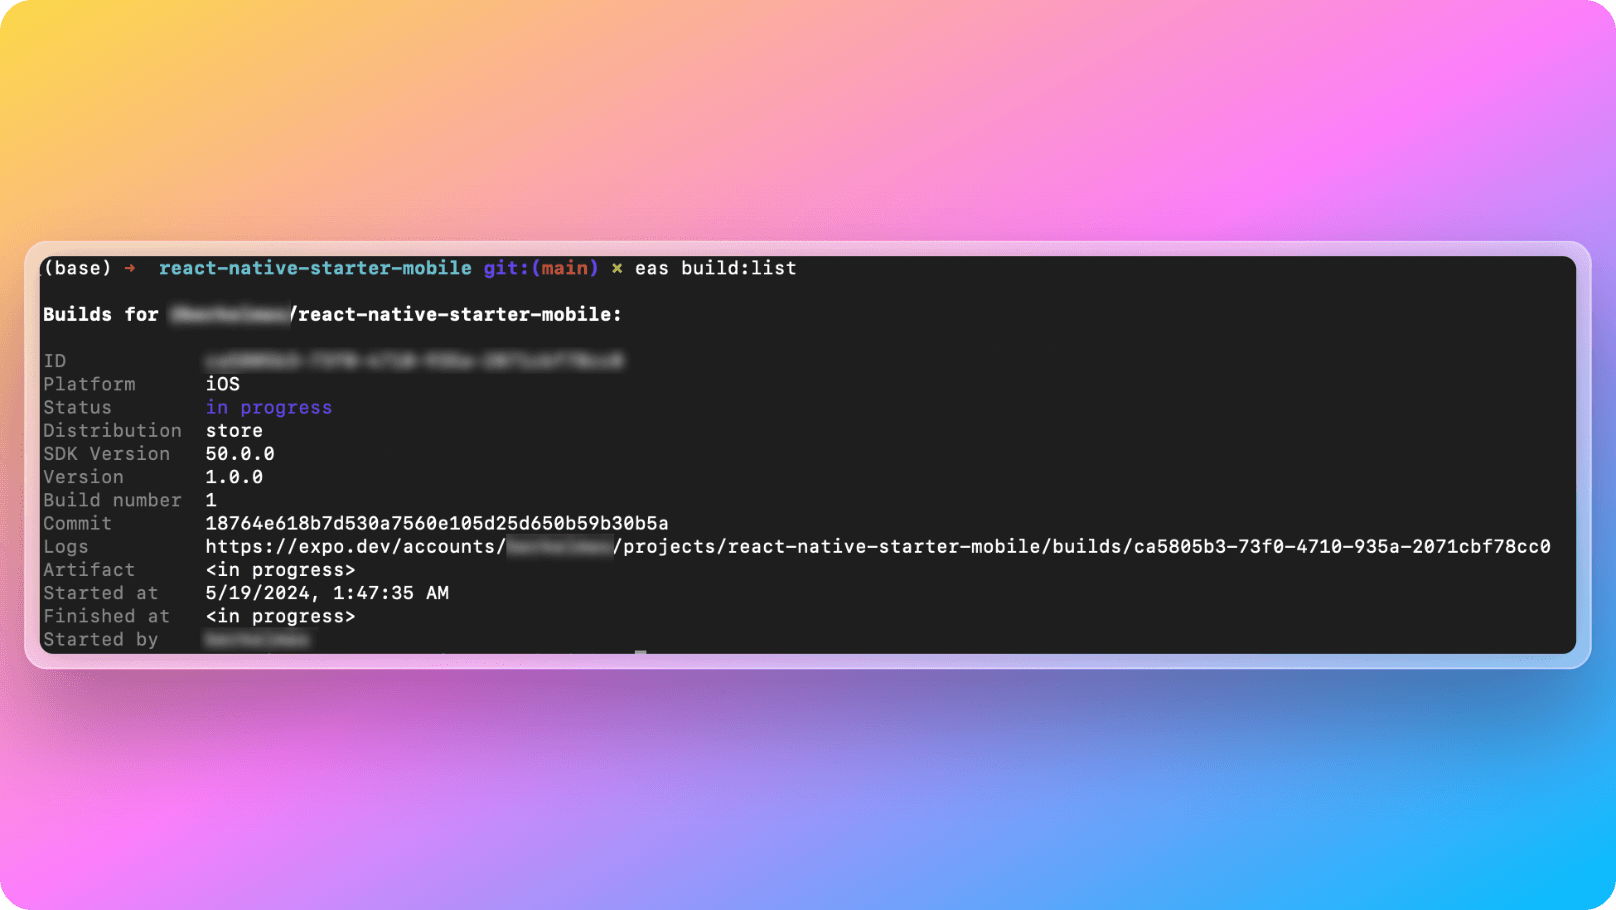
Building your app on Expo Cloud might take some time. You can check the status of the deployment by running the command below and see the progress:
1eas build:listThe output of the command will look like this:
7. After the build process gets completed on Expo side, you will be able to see the build output in the Expo platform like below:
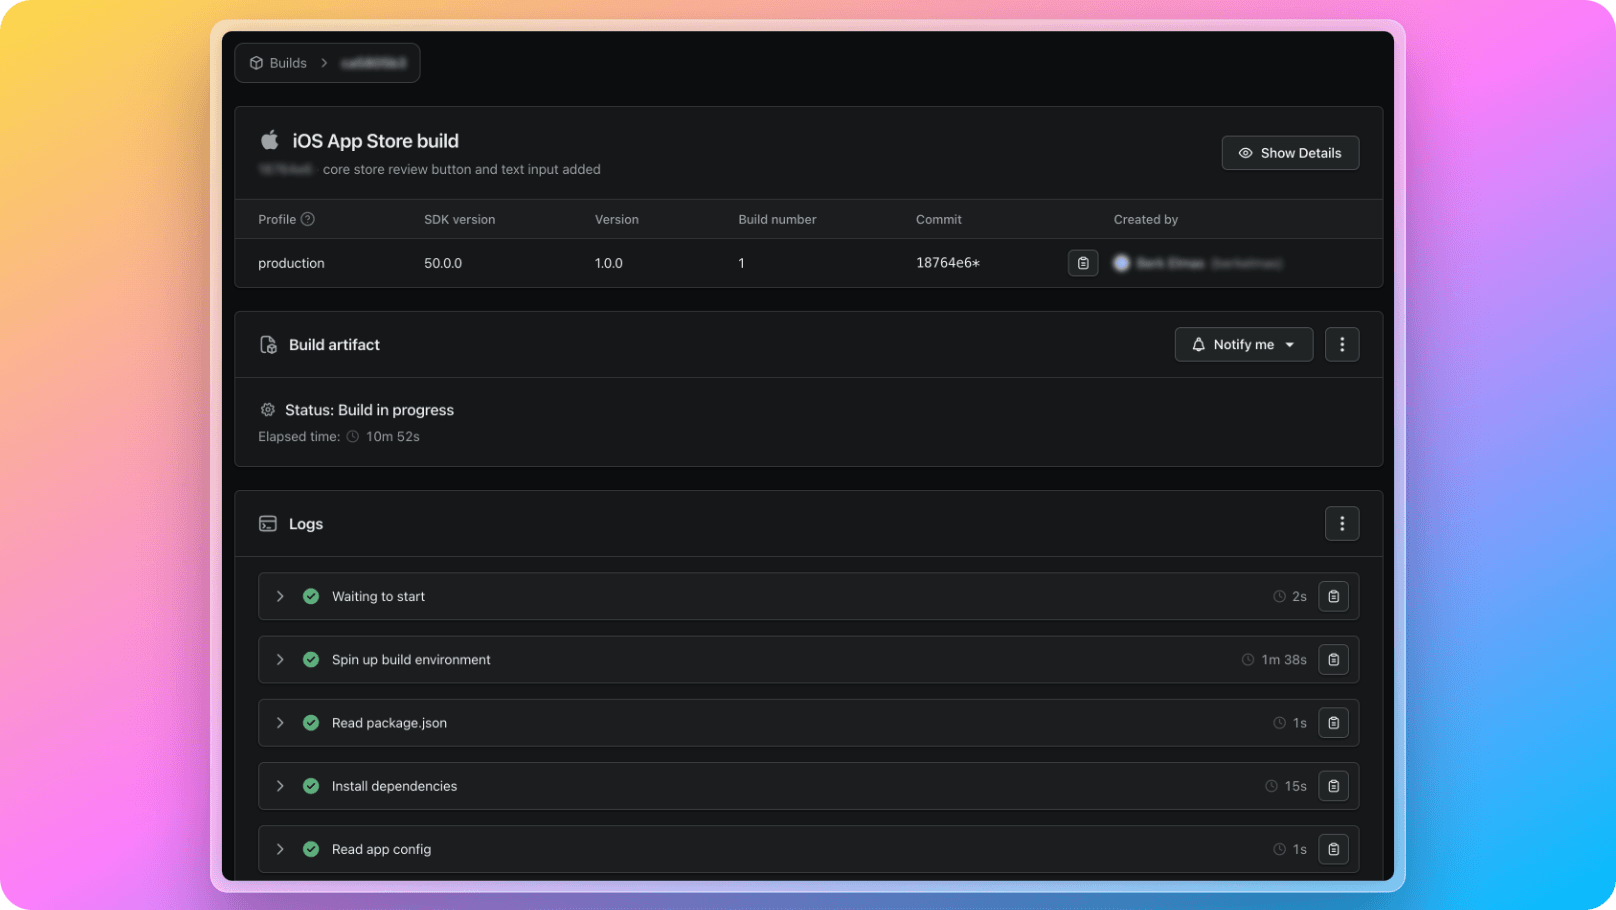
Now you have the compiled version of your mobile app and it is time to submit your application to Apple App Store!
Submit To Apple App Store
Now that we have built our application on iOS platform, now it is time to submit it to Apple App Store with React Native Starter AI's publishing guide! 🚀
1. Run eas submit command like below in your terminal:
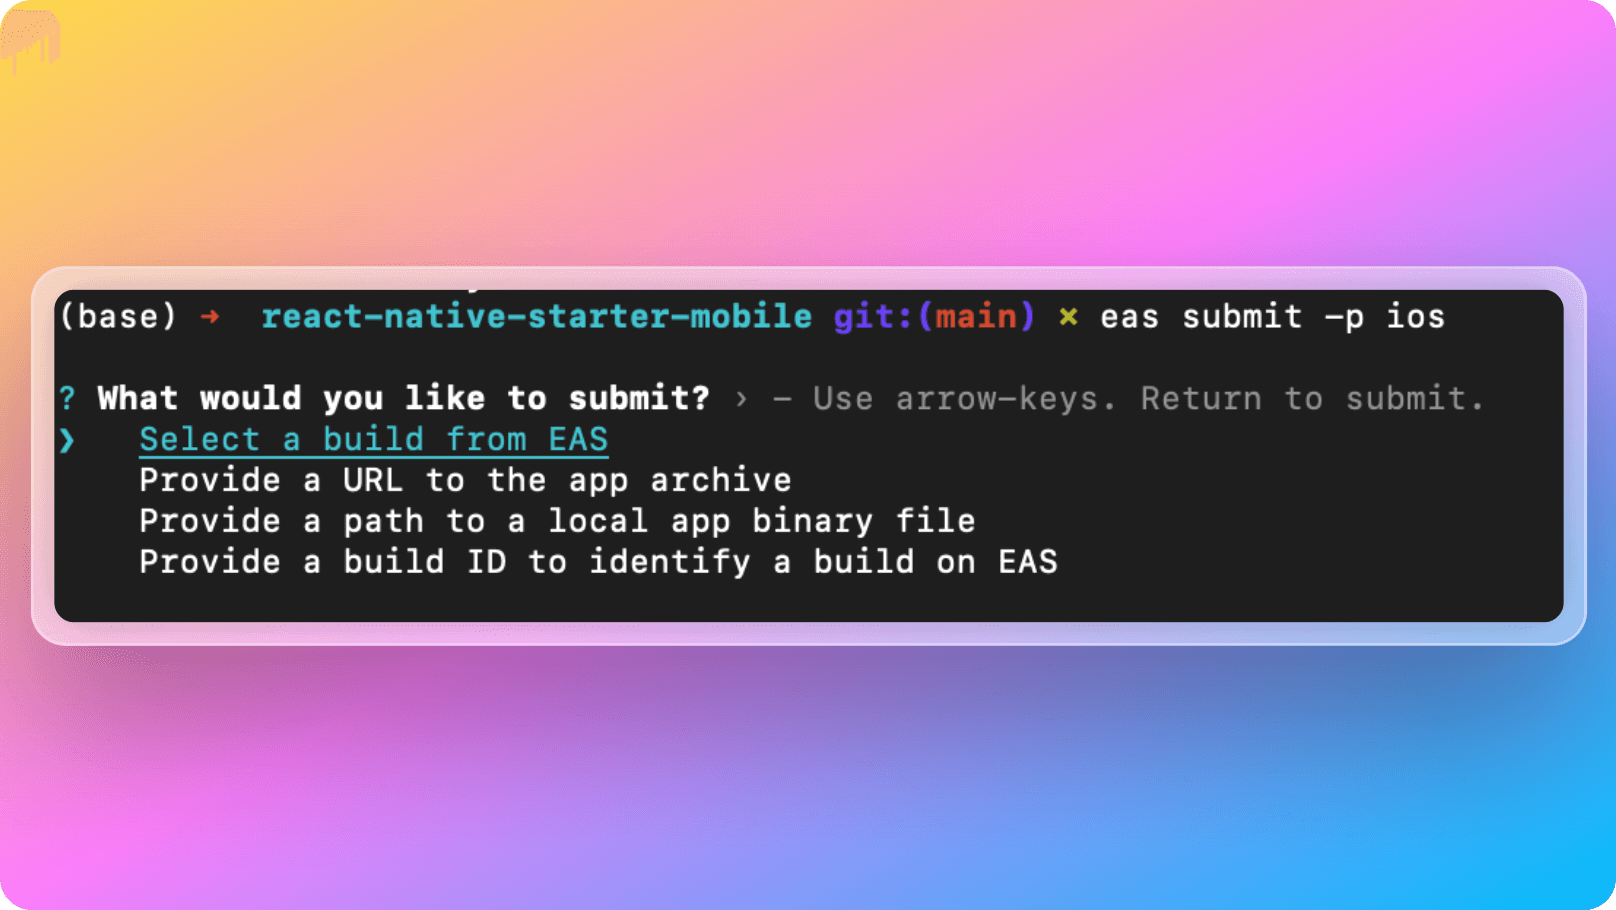
1eas submit -p ios2. Terminal will ask you how you like to submit your application. We need to choose Select a build from EAS option like below because we already build our application on Expo Cloud.
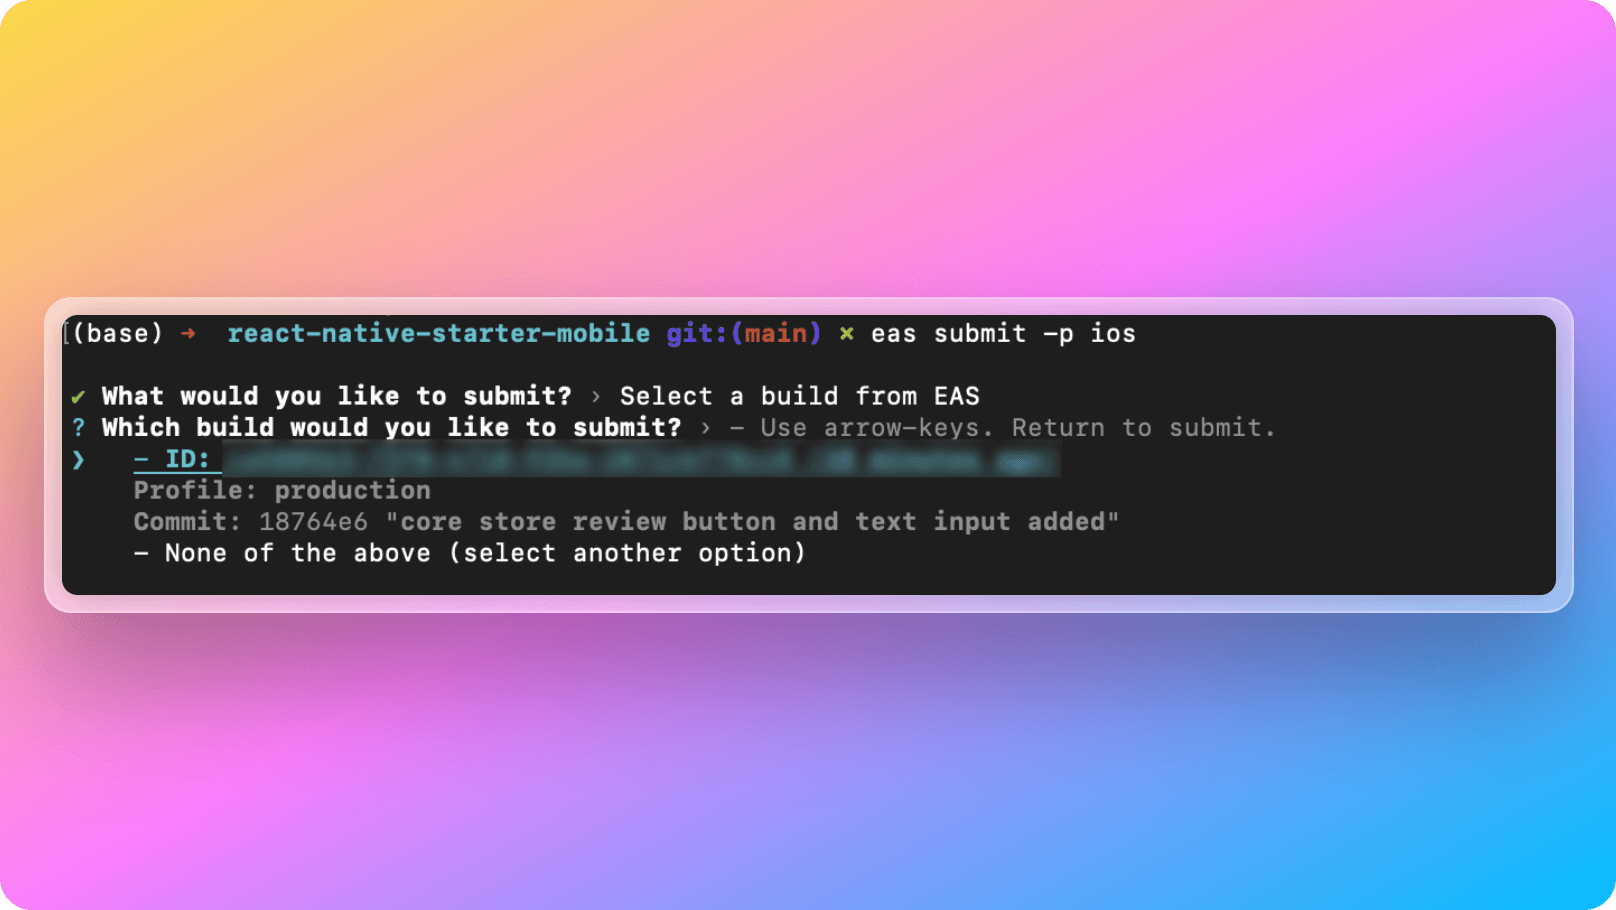
3. After selecting the submit method like above, you will need to choose which build you want to submit like below. You need to choose the one at the top if you want to submit the latest build generated.
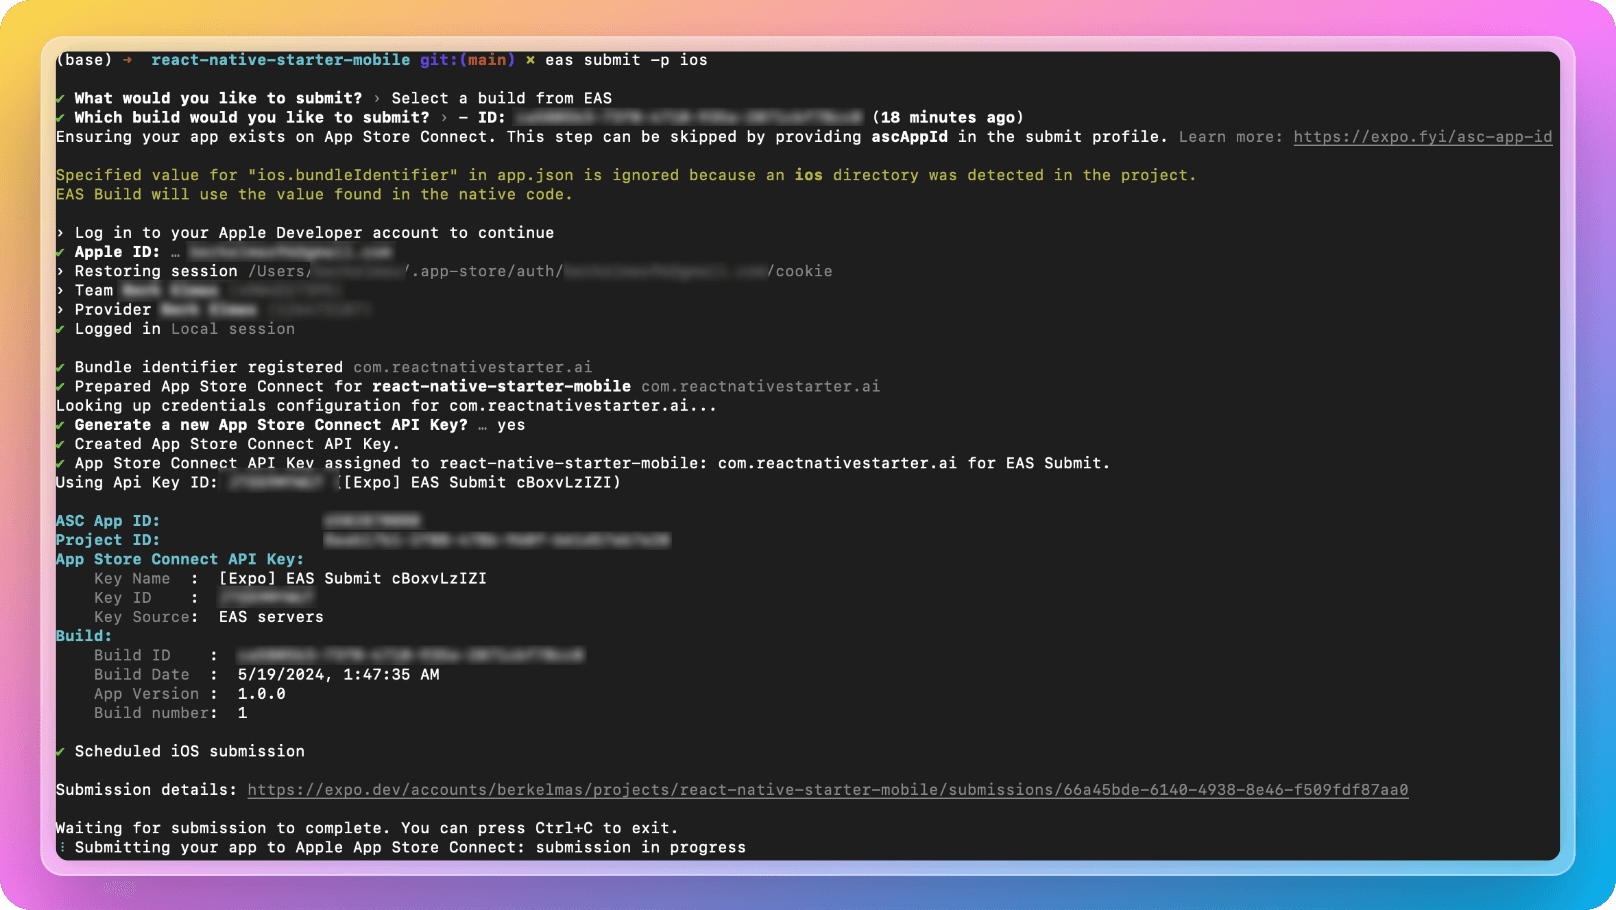
4. After that EAS will ask you to fill out your developer account credentials and once you fill them in; the submission will start like below:
5. After the submission is complete, you will be able to see your app in App Store Connect like below:
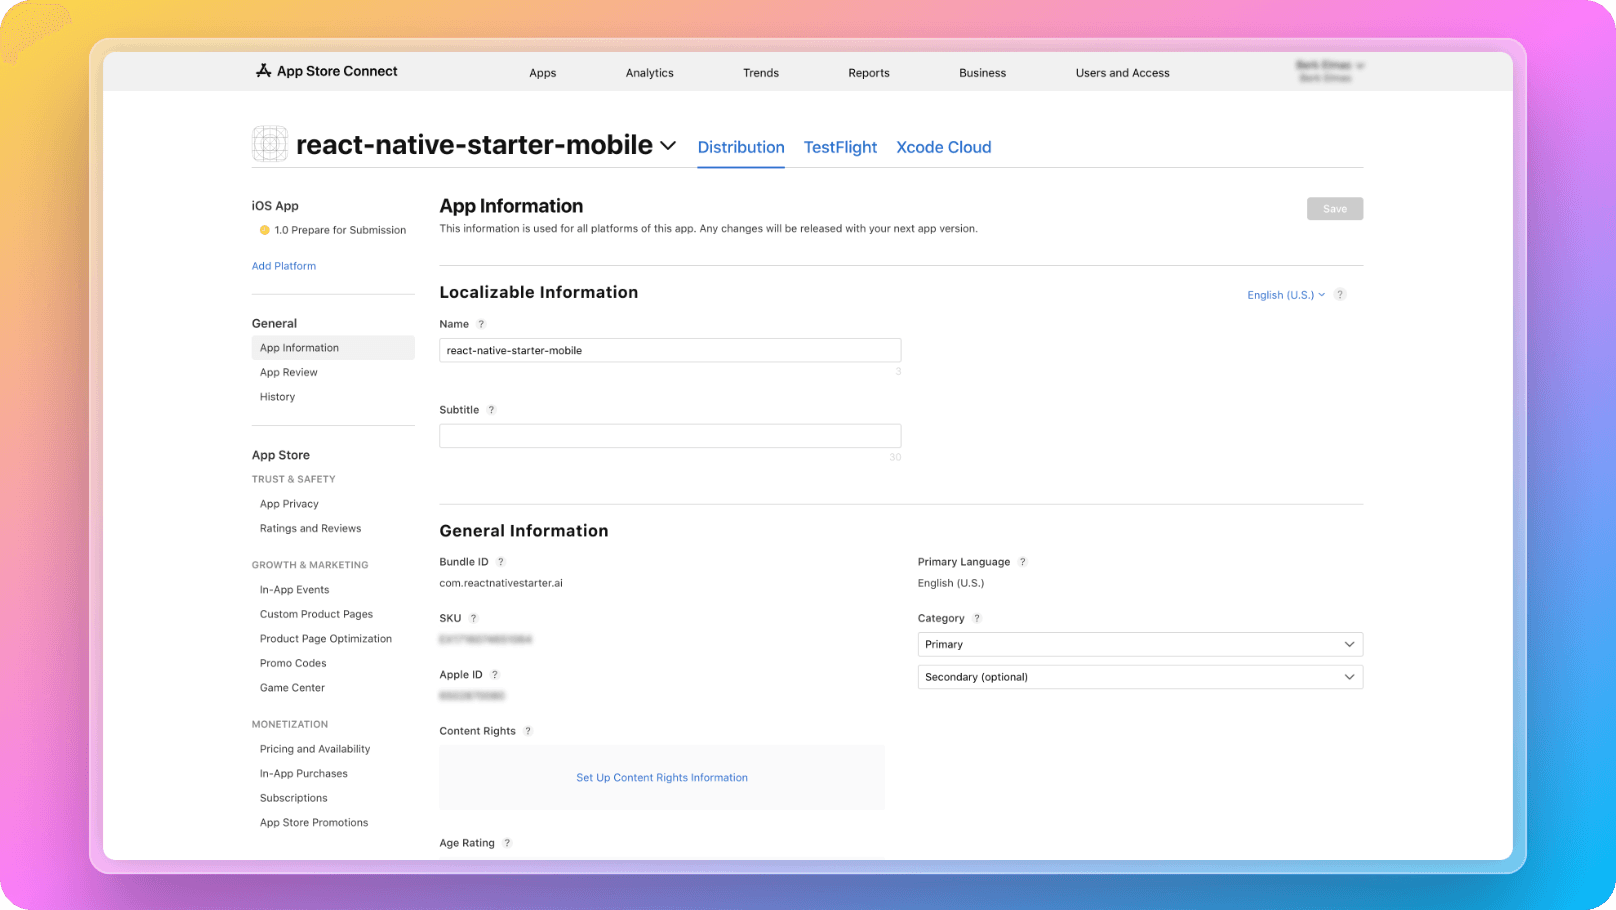
6. After you see your app along with the build on App Store Connect page of your developer account, you are ready to fill out the title, description and other fields. But please keep in mind React Native Starter AI's App Store Optimization(ASO) Docs while doing so :)
In App Purchases
Keep in mind that if you have in-app purchases integrated in your application, while submitting your app, you need to submit your in-app purchase products to review along with your application as well. You can take a look at React Native Starter AI's In-App Purchases Docs for more information on that.